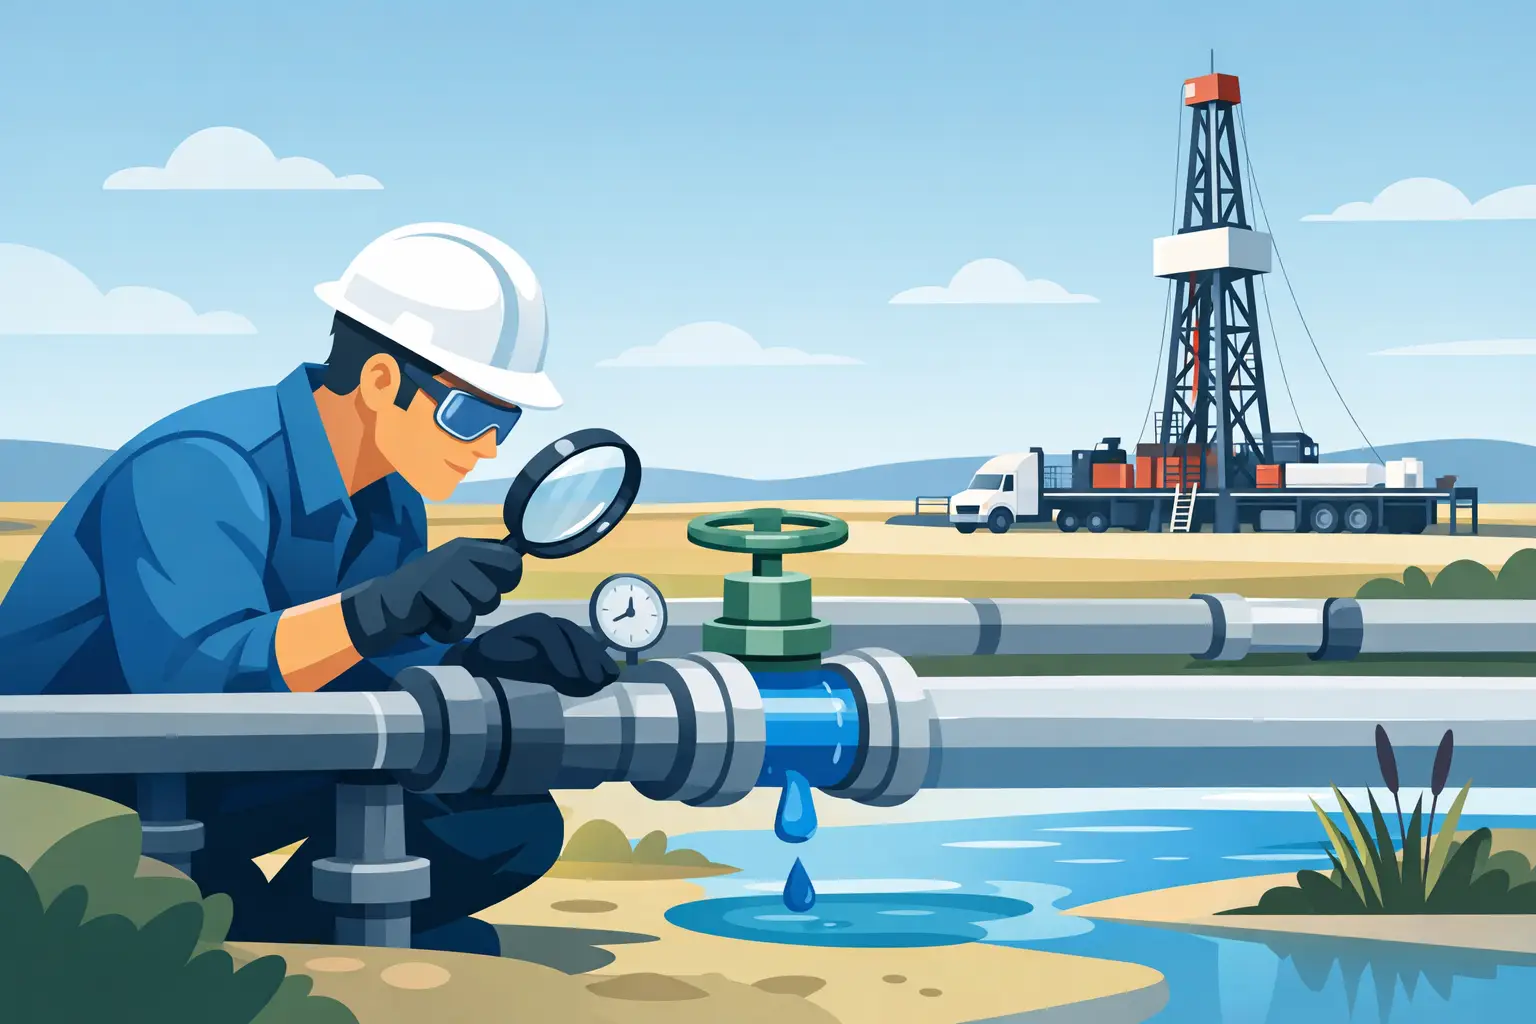
A brine line rarely gives a clean warning before it becomes a field problem. A damp spot at a union, a pressure change at the pump, or a soft section of access road can be the first visible sign that produced water is already escaping. Knowing how to inspect brine lines gives the field crew a chance to isolate a weak point before it turns into lost uptime, a cleanup job, or an unplanned vacuum truck callout.
Brine handling systems take steady abuse. Produced-water chemistry, solids, pressure cycling, temperature swings, vibration, vehicle traffic, and poor support conditions all work against line integrity. A useful inspection is not a quick walkdown for obvious leaks. It is a disciplined check of the route, containment, mechanical connections, pressure behavior, and the equipment tied into the line.
Start With the Line’s Service History
Before putting eyes on pipe or hose, confirm what the line has been handling and how it has been operated. A low-pressure temporary transfer line calls for a different inspection than a high-pressure disposal connection or a permanent produced-water gathering line. The material, age, operating pressure, fluid chemistry, recent repairs, and frequency of transfer all affect where failure is most likely.
Review recent pressure records, transfer volumes, pump run time, and any recurring need to tighten fittings. A line that has gradually required more pressure to move the same volume may have internal scale, solids buildup, a restriction, or a valve issue. A line that loses pressure after shutdown may have a leak, a bypassing valve, or trapped air that needs to be separated from an actual integrity concern.
Talk to the pumper, vacuum truck operator, or production foreman who works around the system. Field observations matter. If crews have noticed pulsation at the manifold, recurring wetness at a low point, or a connection that has been bumped by equipment, put those locations at the top of the inspection route.
How to Inspect Brine Lines Safely
Treat every brine line as energized until it has been isolated, depressured, and verified safe to examine. Produced water can be under pressure and may contain hydrocarbons, scale, residual treatment chemicals, and gases associated with the production stream. The exact hazard profile depends on the well and facility, so the job plan needs to match actual conditions.
Establish isolation points before inspection. Shut down transfer equipment as required, close and secure the correct valves, bleed trapped pressure through an approved point, and verify zero pressure before breaking any connection. Do not rely on a pressure gauge alone if the line arrangement can trap fluid between valves.
Use the site-required PPE and maintain exclusion around pressurized equipment. Keep personnel clear of pump discharge paths, hammer unions, temporary hose runs, and damaged pipe supports. If there is a suspected leak on a live line, do not approach the release point to confirm it by hand or by sight at close range. Isolate the system first, then inspect under controlled conditions.
Walk the Entire Route, Not Just the Leak-Prone Ends
Start at the source and follow the line to its destination. This catches route problems that a connection-only inspection misses. Look for changes in ground condition, exposed pipe, sagging hose, unsupported spans, buried sections that have settled, and locations where traffic crosses or works near the line.
Pay close attention to low areas. Brine releases often collect in ditches, tire ruts, around culverts, and beneath vegetation. A wet patch is not always a line failure, but it should be checked against weather conditions, tank activity, and the line path. Salt residue, dead vegetation, unusual soil discoloration, and persistent wetness without recent rain are all reasons to investigate further.
Temporary lines deserve particular scrutiny after rain, freeze-thaw cycles, excavation work, or heavy hauling. A hose that was properly supported at installation can settle into a rut, rub against steel, or be pinched beneath a mat. A poly line may look intact from a distance while a sharp rock, exposed fitting, or repeated flex point is thinning the wall underneath.
At road crossings and equipment approaches, verify that the line has adequate protection for actual field traffic. Do not assume a crossing is safe because it survived the last job. Axle loads, ground softness, and the type of protection installed determine whether the line is being crushed or flexed beyond its intended service.
Check Connections, Valves, and Mechanical Damage
Most brine-line leaks develop at connections and transition points, not in the middle of a straight, properly supported run. Inspect hammer unions, threaded fittings, flanges, quick-connect fittings, hose ends, valve bodies, elbows, reducers, tees, and manifold outlets. Look for dried salt deposits, corrosion staining, wetness, damaged threads, worn seals, and evidence that a fitting has shifted under load.
A clean-looking connection is not automatically sound. Check whether pipe and hose are pulling against the fitting. Misalignment places constant side load on threads and seals, especially where a heavy hose hangs from a manifold or a rigid line transitions to flexible hose. Correcting the support may be as important as replacing the fitting.
Inspect valves for stem leakage, packing deterioration, handwheel damage, and incomplete travel. A valve that takes excessive force to operate may have internal buildup or corrosion. Forcing it can damage the stem or leave the crew with a valve that will not shut off when it matters. Confirm valve position against the intended flow path instead of assuming handle orientation tells the full story.
Where steel components are in service, inspect for external corrosion, coating failure, pitting, and abrasion. Brine accelerates corrosion, particularly where moisture remains trapped under clamps, supports, insulation, or accumulated dirt. On plastic pipe and hose, look for whitening, cracking, cuts, bulges, soft spots, UV degradation, and flattened sections. Any visible deformation near a coupling or bend calls for closer evaluation.
Watch Pressure Behavior During a Controlled Test
Visual inspection finds a lot, but pressure behavior often identifies problems that cannot be seen. Once the line is confirmed ready for service, bring it up under a controlled test or normal transfer condition in accordance with the operating plan. Monitor pressure at the relevant points, watch for abnormal pulsation, and inspect accessible connections from a safe position.
Pressure testing only provides a useful answer when test pressure, hold time, temperature, line volume, and acceptance criteria are documented. A minor pressure change can result from temperature stabilization or trapped air, while a continuing decline may indicate leakage. The line material also matters. Poly and hose can expand under pressure, so a test must account for expected movement before a pressure loss is called a failure.
Listen for irregular pump sound and watch for surging that was not present before. A restriction from scale or solids can increase discharge pressure and stress weak connections. On triplex-driven transfers, normal pulsation should not be confused with an erratic pressure pattern caused by suction issues, air ingress, or a partially closed valve.
Do not use a pressure test as permission to ignore a visual defect. A line that holds pressure but has severe abrasion, unsupported spans, or corroded fittings may still be unfit for continued service. The inspection decision should consider the next planned operating cycle, not only whether the system survived a short test.
Inspect the Support System and Secondary Containment
Line integrity depends on more than pipe, hose, and fittings. Examine pipe racks, stakes, clamps, cribbing, crossing ramps, trench protection, and any containment positioned beneath transfer points. Supports should prevent movement without crushing or chafing the line. A clamp that has worked loose can allow vibration damage. A clamp that is overtightened can damage poly pipe or hose over time.
At tanks, loadouts, and transfer manifolds, confirm that containment is clean enough to reveal a new release and has capacity for the credible spill scenario. Standing rainwater, trash, and old fluid residue can hide an active leak. Check drains, sump areas, and containment penetrations for integrity before starting a transfer.
Also inspect the area around the line for operational conflicts. Excavation, mowing, snow removal, rig moves, vacuum truck positioning, and Rolling Tailboard Float traffic can change site conditions quickly. A brine line may be mechanically sound at the start of a job and vulnerable after another crew reconfigures access or staging.
Set Clear Repair and Replacement Triggers
The field should not have to debate whether a visibly compromised component can run one more load. Establish replacement triggers before the job starts. Active leakage, damaged sealing surfaces, deep corrosion or pitting, cracked hose cover, exposed reinforcement, crushed pipe, bulging sections, compromised threads, and unsupported crossings are all conditions that warrant removal from service.
Some findings call for repair, while others call for replacement. Repacking a valve or replacing a seal may be appropriate when the body and connection surfaces are sound. A badly corroded fitting, repeatedly leaking union, or abraded hose section should not be kept in service because a temporary patch is convenient. The trade-off is simple: planned replacement costs less than a release during transfer, particularly when equipment and crews are already committed to the location.
Document the inspection with the line route, condition found, pressure observations, repairs completed, components changed, and who verified the system for return to service. Good records help identify repeat failures at the same crossing, manifold, or fluid service. They also give the next crew a usable starting point instead of making them rediscover old problems.
When a brine line shows uncertain condition, stop the transfer plan long enough to get the right equipment and crew in place. A responsive field-support contractor can isolate the issue, handle recovered fluids, replace damaged sections, and restore the site without turning a manageable inspection finding into a larger production interruption.
Leave a Reply