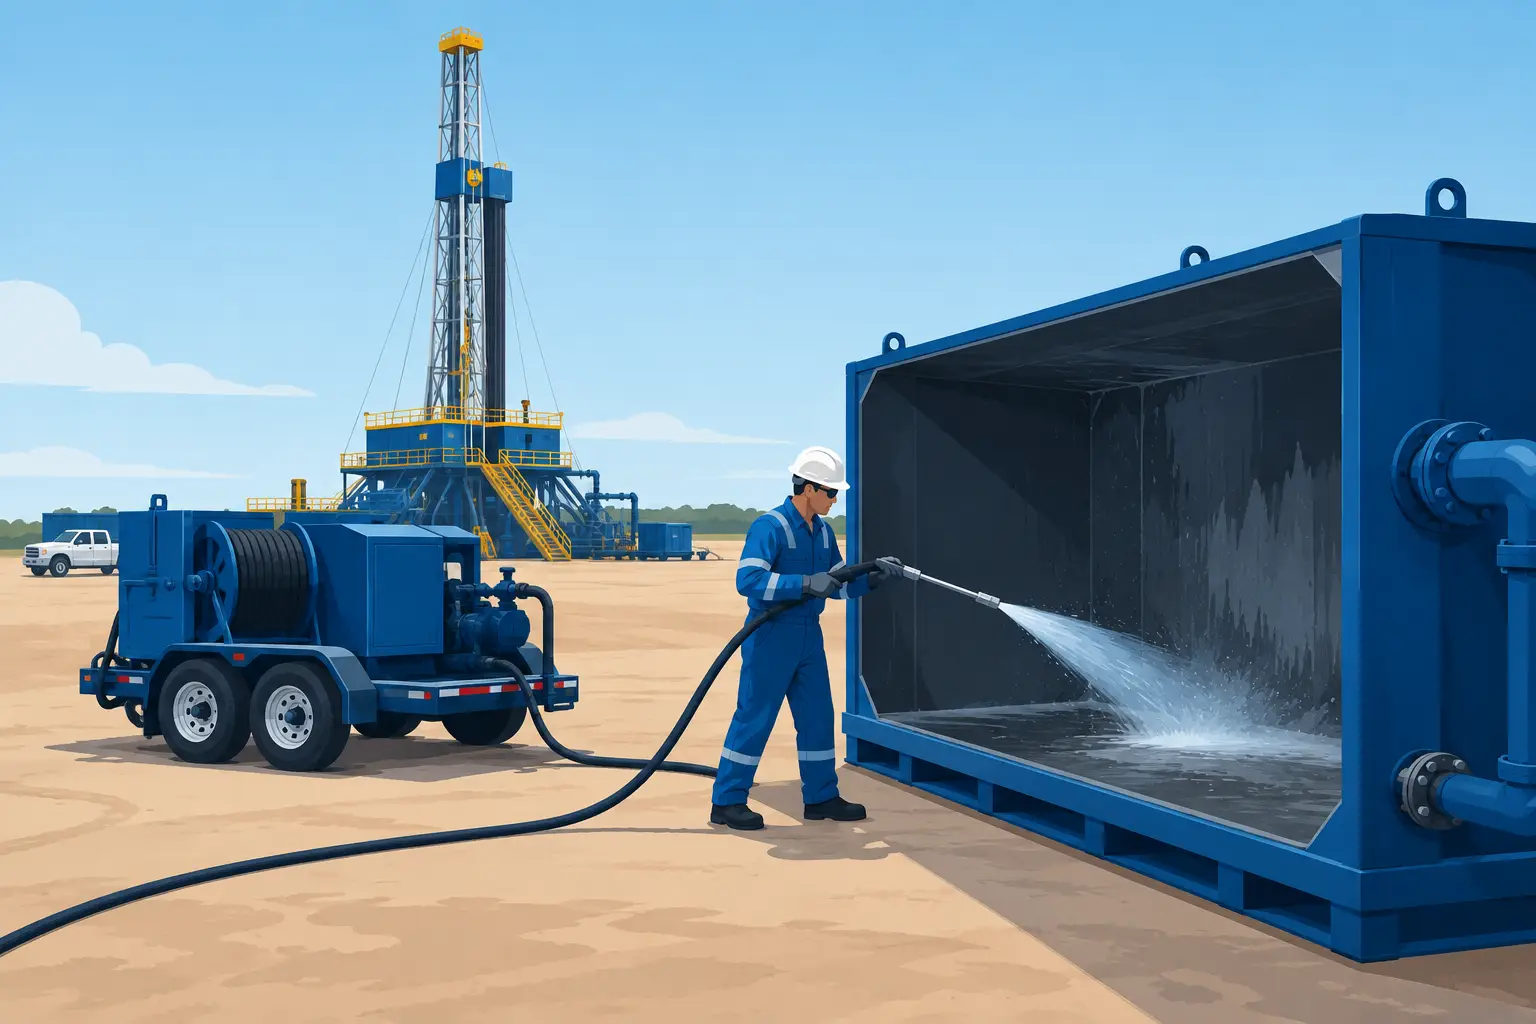
A frac tank that comes off a completion, workover, or fluid-handling job is rarely just an empty box waiting on the next call. Residual water, produced fluids, scale, sand, chemical residue, and vapor hazards can all affect how the tank is handled. Knowing how to clean frac tanks starts with controlling the job before a vacuum hose or steam wand ever reaches the tank.
The right cleaning method depends on what the tank held, how long it sat, the degree of solids buildup, and where it is headed next. A tank being prepared for the same fluid service may require a different scope than one being released for transport, repair, inspection, or a change in service. The goal is not simply to make it look clean. The goal is to return a safe, verified, usable piece of equipment to the field.
Start With Fluid Identification and Job Planning
Treat every tank as containing residual material until it has been assessed. Review the last known contents, available fluid documentation, job history, and any chemical additives used during the operation. A tank that held fresh water with light sediment presents one set of conditions. A tank that handled produced water, flowback, oil-contaminated fluids, acid, or chemical additives requires a more controlled waste and exposure plan.
Before cleaning begins, establish where recovered liquids and solids will go. Confirm the receiving vessel, disposal route, truck access, hose path, and load-out sequence. On a crowded pad, this coordination matters as much as the actual washout. Vacuum trucks, steamers, support equipment, and haul trucks need room to work without blocking rig operations, completion traffic, or emergency access.
The crew should also define the cleaning scope up front. Determine whether the job requires residual fluid removal only, a full internal washout, solids removal, exterior cleaning, inspection support, or all of the above. This prevents the common problem of mobilizing for a quick pump-down and discovering several inches of settled sand, scale, or thick residue in the tank bottom.
Isolate the Tank Before Cleaning
A proper isolation sequence protects the crew and keeps recovered fluids from migrating back into the system. Verify that all inlet, outlet, manifold, and transfer connections are closed, disconnected, or positively isolated as required by the job plan. Depressurize the tank and associated lines before breaking connections.
Do not assume an open valve means a dead line. Residual pressure, trapped fluid, and cross-connected lines can create a release when fittings are loosened. Confirm the flow path, communicate with the person in charge, and use the site’s lockout, tagout, or isolation procedure where applicable.
Tank ventilation also needs attention. Vapors can collect in the tank and around open hatches, particularly when the previous service involved hydrocarbons or chemical additives. Monitor the atmosphere as conditions require, keep ignition sources controlled, and establish a clear exclusion area around the work zone. If entry is being considered, it becomes a confined-space operation, not a routine tank washout. In many cases, the better plan is to complete cleaning from outside the tank with the right vacuum, wash, and tooling setup.
Remove Residual Fluids First
The first working step in how to clean frac tanks is recovering free-standing fluid. Use a properly sized vacuum truck and hose configuration to pull down the tank from the low point while maintaining control of the receiving capacity. Watch the fluid level, pump performance, hose condition, and truck load throughout the transfer.
A vacuum truck is effective for residual liquids, but it is not a substitute for evaluating what has settled in the tank. Sand, scale, iron sulfide, drilling residue, and heavier solids may remain after the liquid level is down. As the tank pulls dry, the crew should inspect accessible areas through hatches or openings and determine whether additional agitation, wash water, or mechanical removal is needed.
Recovered material must stay segregated according to its fluid type and disposal requirements. Mixing compatible waste streams may be acceptable under the site plan, while mixing streams without confirmation can complicate disposal and create avoidable costs. Good tank cleaning starts with clean paperwork and controlled fluid handling, not just clean steel.
Use Steam and Wash Water Where They Add Value
Steam cleaning is often the fastest way to loosen adhered residue, cut through oily film, and break up dried solids on tank walls, floors, corners, and fittings. It is particularly useful when a tank has been idle, exposed to cold conditions, or used in service where residue has baked onto internal surfaces.
The trade-off is that steam and wash water add volume to the waste stream. If the tank requires only a residual-fluid pump-down before returning to similar service, a full washout may not be necessary. If it is changing service, going to repair, being inspected, or carrying material that cannot cross-contaminate the next job, the extra cleaning step is justified.
Apply steam in a controlled pattern, working from upper surfaces down so loosened material can be recovered at the bottom. Pay close attention to baffles, corners, valve sumps, manways, ladder areas, and fittings where solids collect. Follow with water as needed to move suspended material toward the vacuum point. Avoid excessive pressure that can damage coatings, seals, gaskets, or compromised components.
For heavy buildup, cleaning may require multiple cycles: steam to loosen residue, vacuum to recover slurry, a targeted rinse, and another inspection. Trying to force a heavily fouled tank clean in one pass usually leaves material in low spots and costs more time later when the next crew finds it.
Manage Solids Without Creating a Bigger Problem
Settled solids are where tank cleaning becomes a field operation rather than a simple fluid transfer. Thick sediment may bridge over the suction point, plug hoses, or prevent complete recovery. Agitation with wash water can help, but it should be used deliberately. Too much water turns manageable solids into a larger volume of slurry that still needs to be hauled and disposed of.
When solids are stubborn, use the equipment and method suited to the material. That may mean targeted steaming, external vibration where appropriate, vacuum recovery in stages, or mechanical removal under a controlled plan. Do not send personnel into a tank simply because the last few inches are difficult to reach. The risk profile changes immediately when entry is involved.
Keep an eye on the tank’s structural condition as cleaning progresses. Corrosion, damaged floor sections, compromised welds, leaking valves, and degraded gaskets can show up once residue is removed. Document defects before the tank is released back to service. A clean tank with an unreported leak is not ready for the next fluid load.
Inspect the Tank Before Return to Service
Once fluids and solids are removed, inspect the areas that matter to the tank’s next assignment. Check the floor and walls for corrosion or coating failure, inspect manway covers and seals, and verify that valves operate and close properly. Examine outlets, fittings, hoses, and connections for damage or residue that could affect the next transfer.
If the tank will be transported, secure hatches, caps, and valves after cleaning. Confirm that any remaining liquid is within the planned transport condition and that exterior surfaces, walkways, and ladder rungs are free of slick residue. A clean interior does not help if the truck crew is climbing on oil-coated steel.
Cleaning also provides a good point to verify identification and service status. Mark tanks that need repair, further inspection, or restricted use so they do not get mixed into ready equipment. Field crews lose time when unserviceable equipment arrives at the pad with no clear history.
Know When to Bring in a Full-Service Crew
Routine washouts can become complicated quickly when there is heavy solids loading, difficult access, tight turnaround, or simultaneous completion and workover activity. The best result often comes from pairing vacuum capacity with steam cleaning, hauling coordination, and a crew that understands tank handling around active oilfield operations.
For Central Ohio operators, Darby Energy can coordinate vacuum truck service, steaming, fluid handling, and transportation support around the actual job schedule. That matters when a 90-110 bbl tank needs to be turned quickly without pulling attention away from the rig, production crew, or completion spread.
A frac tank is ready when its residual material has been controlled, its condition has been checked, and its next use is clear. Build the cleaning plan around those three points, and the tank can move from one job to the next without bringing yesterday’s problems with it.
Leave a Reply